
Here is a recent project. I was asked last-minute if I could do artwork for an album cover. These days I prefer to work in oils so the time frame of 2 weeks was going to be tight. My painting techniques tend to be illustrative and well-planned, so I needed to pace the stages to meet the schedule. I also made the decision that regardless of how far along I was, that within the last 2 days available I would switch to doing the final work on the computer using Photoshop.
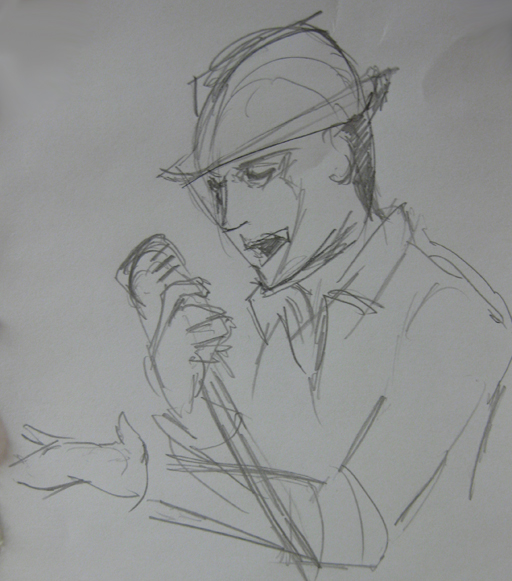
I did an initial rough sketch of my primary idea and emailed to the musician if he had any existing photo reference that matched the pose, or to at least send photos snapped from a phone.
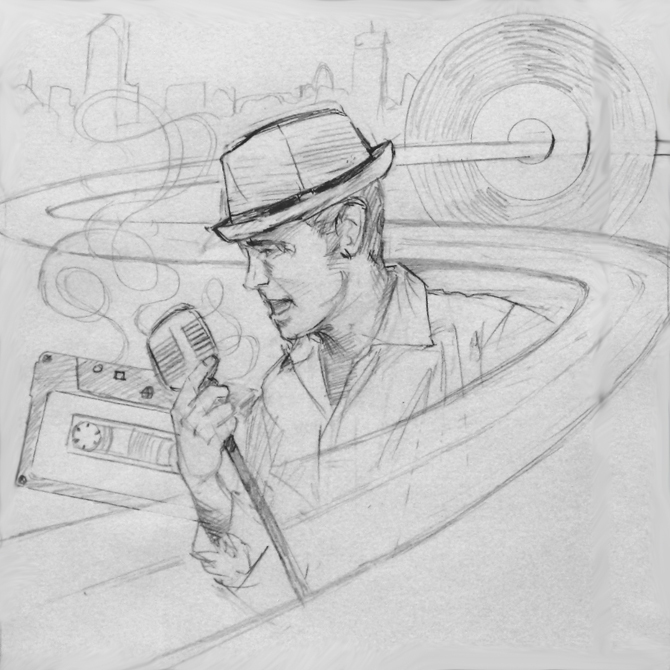
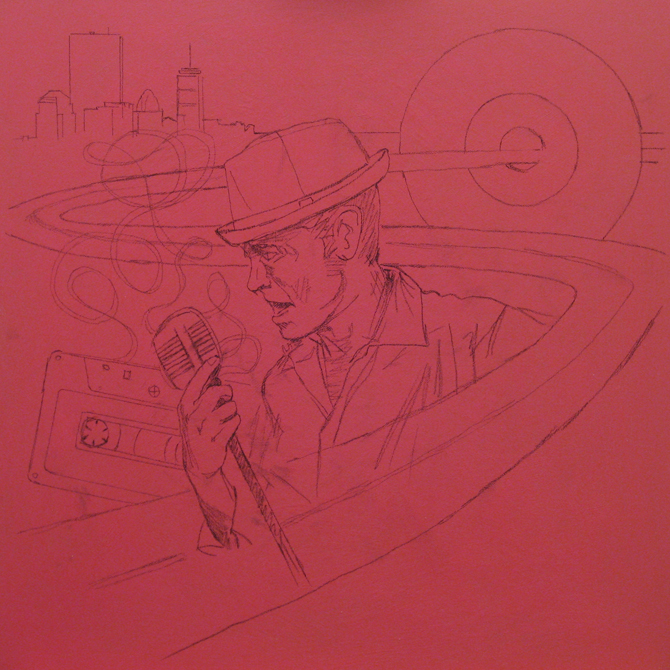
While waiting for feedback, I prepped a 24″x24″ canvas with tinted gesso. I chose a red hue as a base, mixed a dark red hue in with white gesso and brushed that onto the canvas using a large brush. This was allowed to dry for 24 hours while I got approval for the sketch, some reference photos and worked on a full sketch to base the painting on.
After the gesso dried, I transferred the sketch to the canvas using charcoal. My usual method is to scan or photograph the sketch and then project it onto the canvas using a digital projector, but if I am working on a hard surface like a wood board then it’s more accurate to do a trace and rub method. Occasionally a sketch is transferred by eye if the basis is simple enough. After the charcoal lines are drawn onto the canvas, I spray it lightly with a casein-based fixative, wait a few minutes for the fixative to dry and then spray it again. This helps keep the charcoal lines from bleeding with the initial paint layers which I have to add some turpentine to for thinning and speeding up drying so that I can start working off the base paint layer within 24 hours.
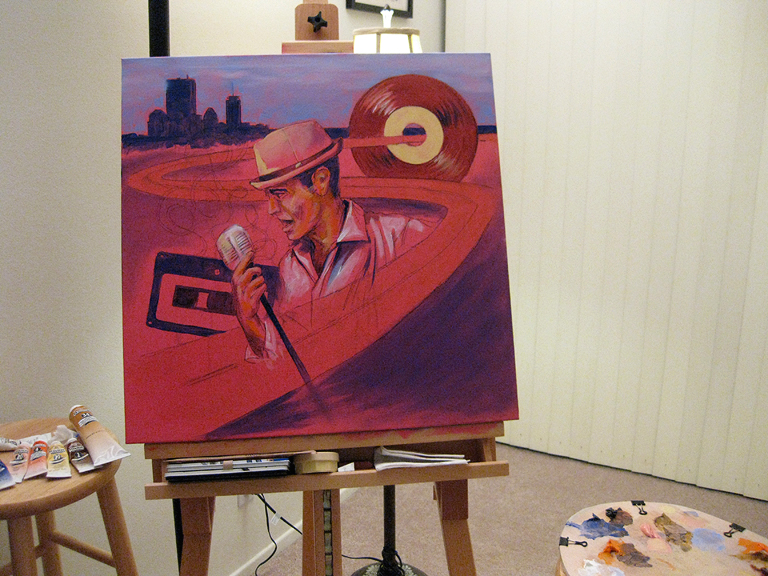
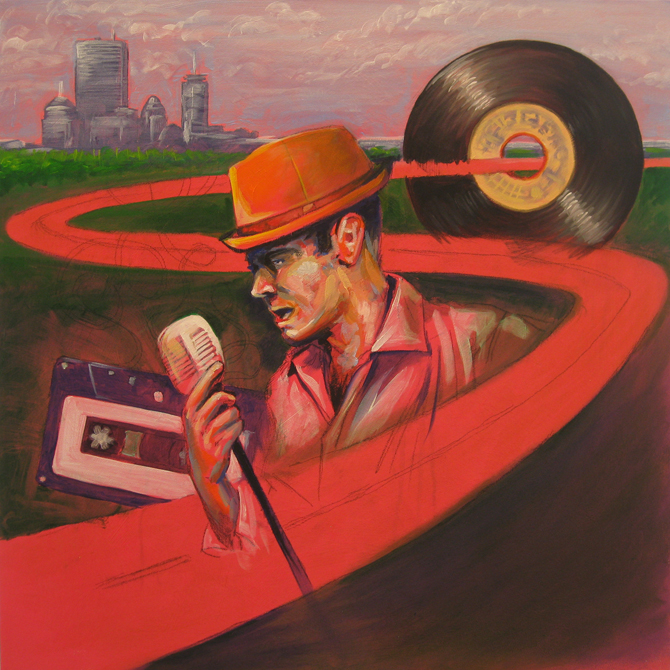
The initial layers are painted on very thinly, mainly focusing on broad areas for coverage and line work where most edges will be found. Often initial stages of oil paintings done this way may have a cartoonish look but that will work itself away as the additional layers come on. The base colors can either be a close approximation of what the final color tones will be for the areas being painted or a complimentary color. Using a complimentary color will help the intended colors which come later to stand out with greater depth, whereas keeping within the intended color range helps with approximating the color composition ahead of time. I tend to do a balance of both.
I mix in some Liquin impasto with my oil paints to both help with smoothing out brush strokes and speeding up the drying time. For some mixes, I also add a few drops of spirit of turpentine to speed the drying time even more. It’s possible to also mix in a little Damar varnish to speed drying times but that’s not a good idea for any layers toward the end of the painting process because if in the future the painting needs to be cleaned, the usual process is to first strip away the top protective varnish layer before cleaning. If any of the top layers had varnish mixed in them before the final protective coating, they will come up and destroy the painting.
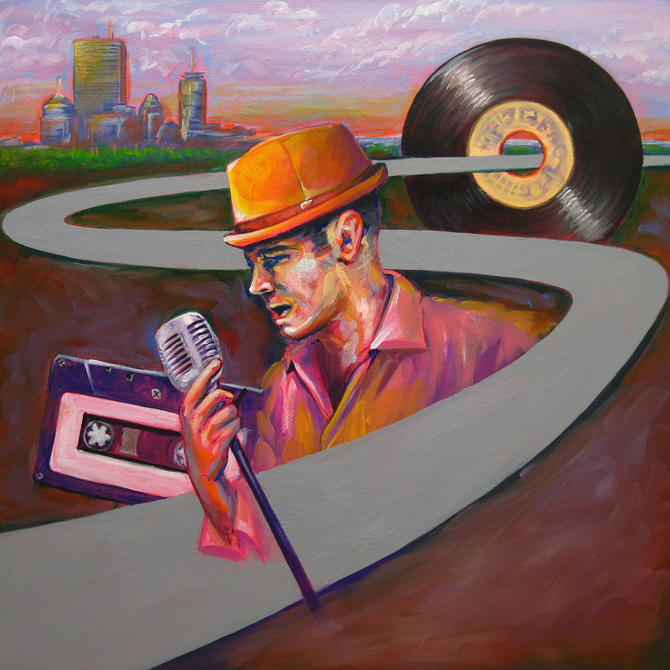
Here I start working in the details and blocking things out with more depth.
Since the paint layers are a bit thicker now, I give the paint more time to dry between sessions. Another method to speed up drying is to place the painting in a well-lit room with indirect sunlight and good ventilation.
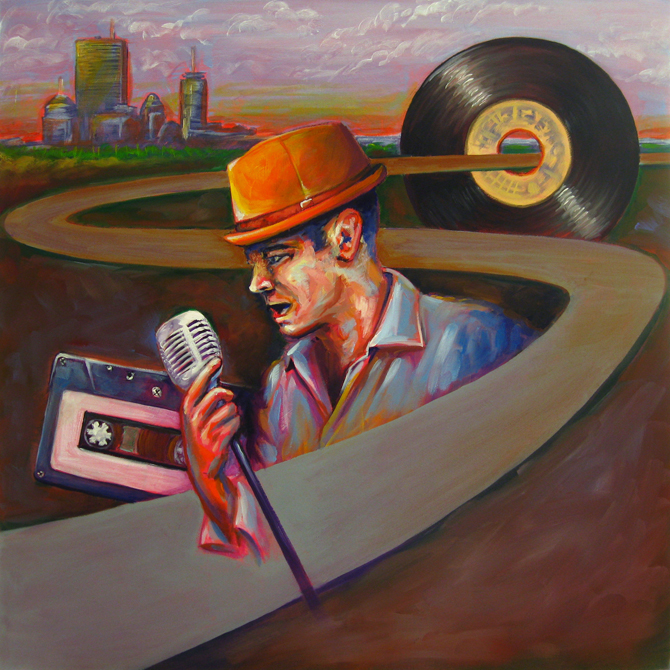
As I get to the final days in the painting schedule, I work in as much of the detailing as possible and do some final color glazes as I can in areas that aren’t thickly painted or at risk of smearing in case they have not dried well enough yet.
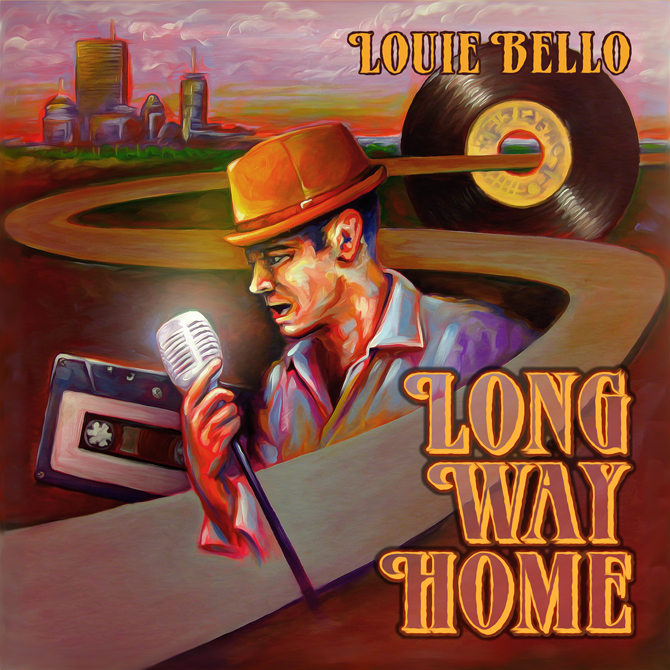
Since I was down to just 2 days left before being fully complete with the painting, I took a high resolution digital photograph and brought the painting into Photoshop where I did final touch-ups, overall color adjustments and shading for enhanced depth, enhanced the brush strokes with some filtering and added titling to match the paint style.
If you would like to learn how to paint with oil paint on canvas, check out the class schedule and contact me to schedule your first lesson. I look forward to being your teacher!
So dope kid!!!!